Flour Halva
What makes halva magical is more about the preparation than the ingredients. Humble kitchen staples are transformed into a nutty, creamy confection with a deeply satisfying flavor. The patience involved in toasting flour with butter slowly over low heat is the key. No rushing! If you've ever had browned butter it's the same taste profile with an added layer of toasted flour. Halva can be made with any type of flour really, as long as the toasting process is the same.
It's popular on holy days and special occasions both joyous and somber. It's intended to be shared with family and neighbors in little portions with hopes that the recipient will wish you well in their prayers. Mystically, the prayer will reach your soul and benefit you in this life and beyond - truly soul food!
Nowadays, gatherings and holidays are more intimate so I've scaled down the recipe to a small batch.
Small Batch Flour Halva
Ingredients
1/3 - 1/2 c sugar (depending on preferred sweetness)
1 c water
4 tbsp unsalted butter (1/2 stick)
1 tsp mild oil
1/2 c all-purpose flour
Directions:
- Simmer sugar and water together in a small pot until sugar is dissolved. The syrup should come to a gentle boil. Set aside but keep warm.
- In a separate small pot gently melt butter with oil.
- Add flour and stir consistently over medium-low heat about 10 minutes. The goal is to change the color of flour from white to pale golden. The scent of the toasted butter and flour will also let you know it's ready. Do not rush this step! Flour burns quickly so keep it low and slow. Burnt flour will taste bitter. (Not the time to catch up on emails. It must be attentively stirred with care.)
- Once the flour is toasted up beautifully and the smell of the browned butter fills your kitchen, it is time to add the sugar/water mixture. Keep mixing until it comes together. Cover until ready to serve
- It can be served warm or room temperature. Use a spoon or ice cream scooper to serve. Alternatively the mixture can be turned into a heatproof dish while hot, allowed to cool and cut into diamond or square shapes once cooled.
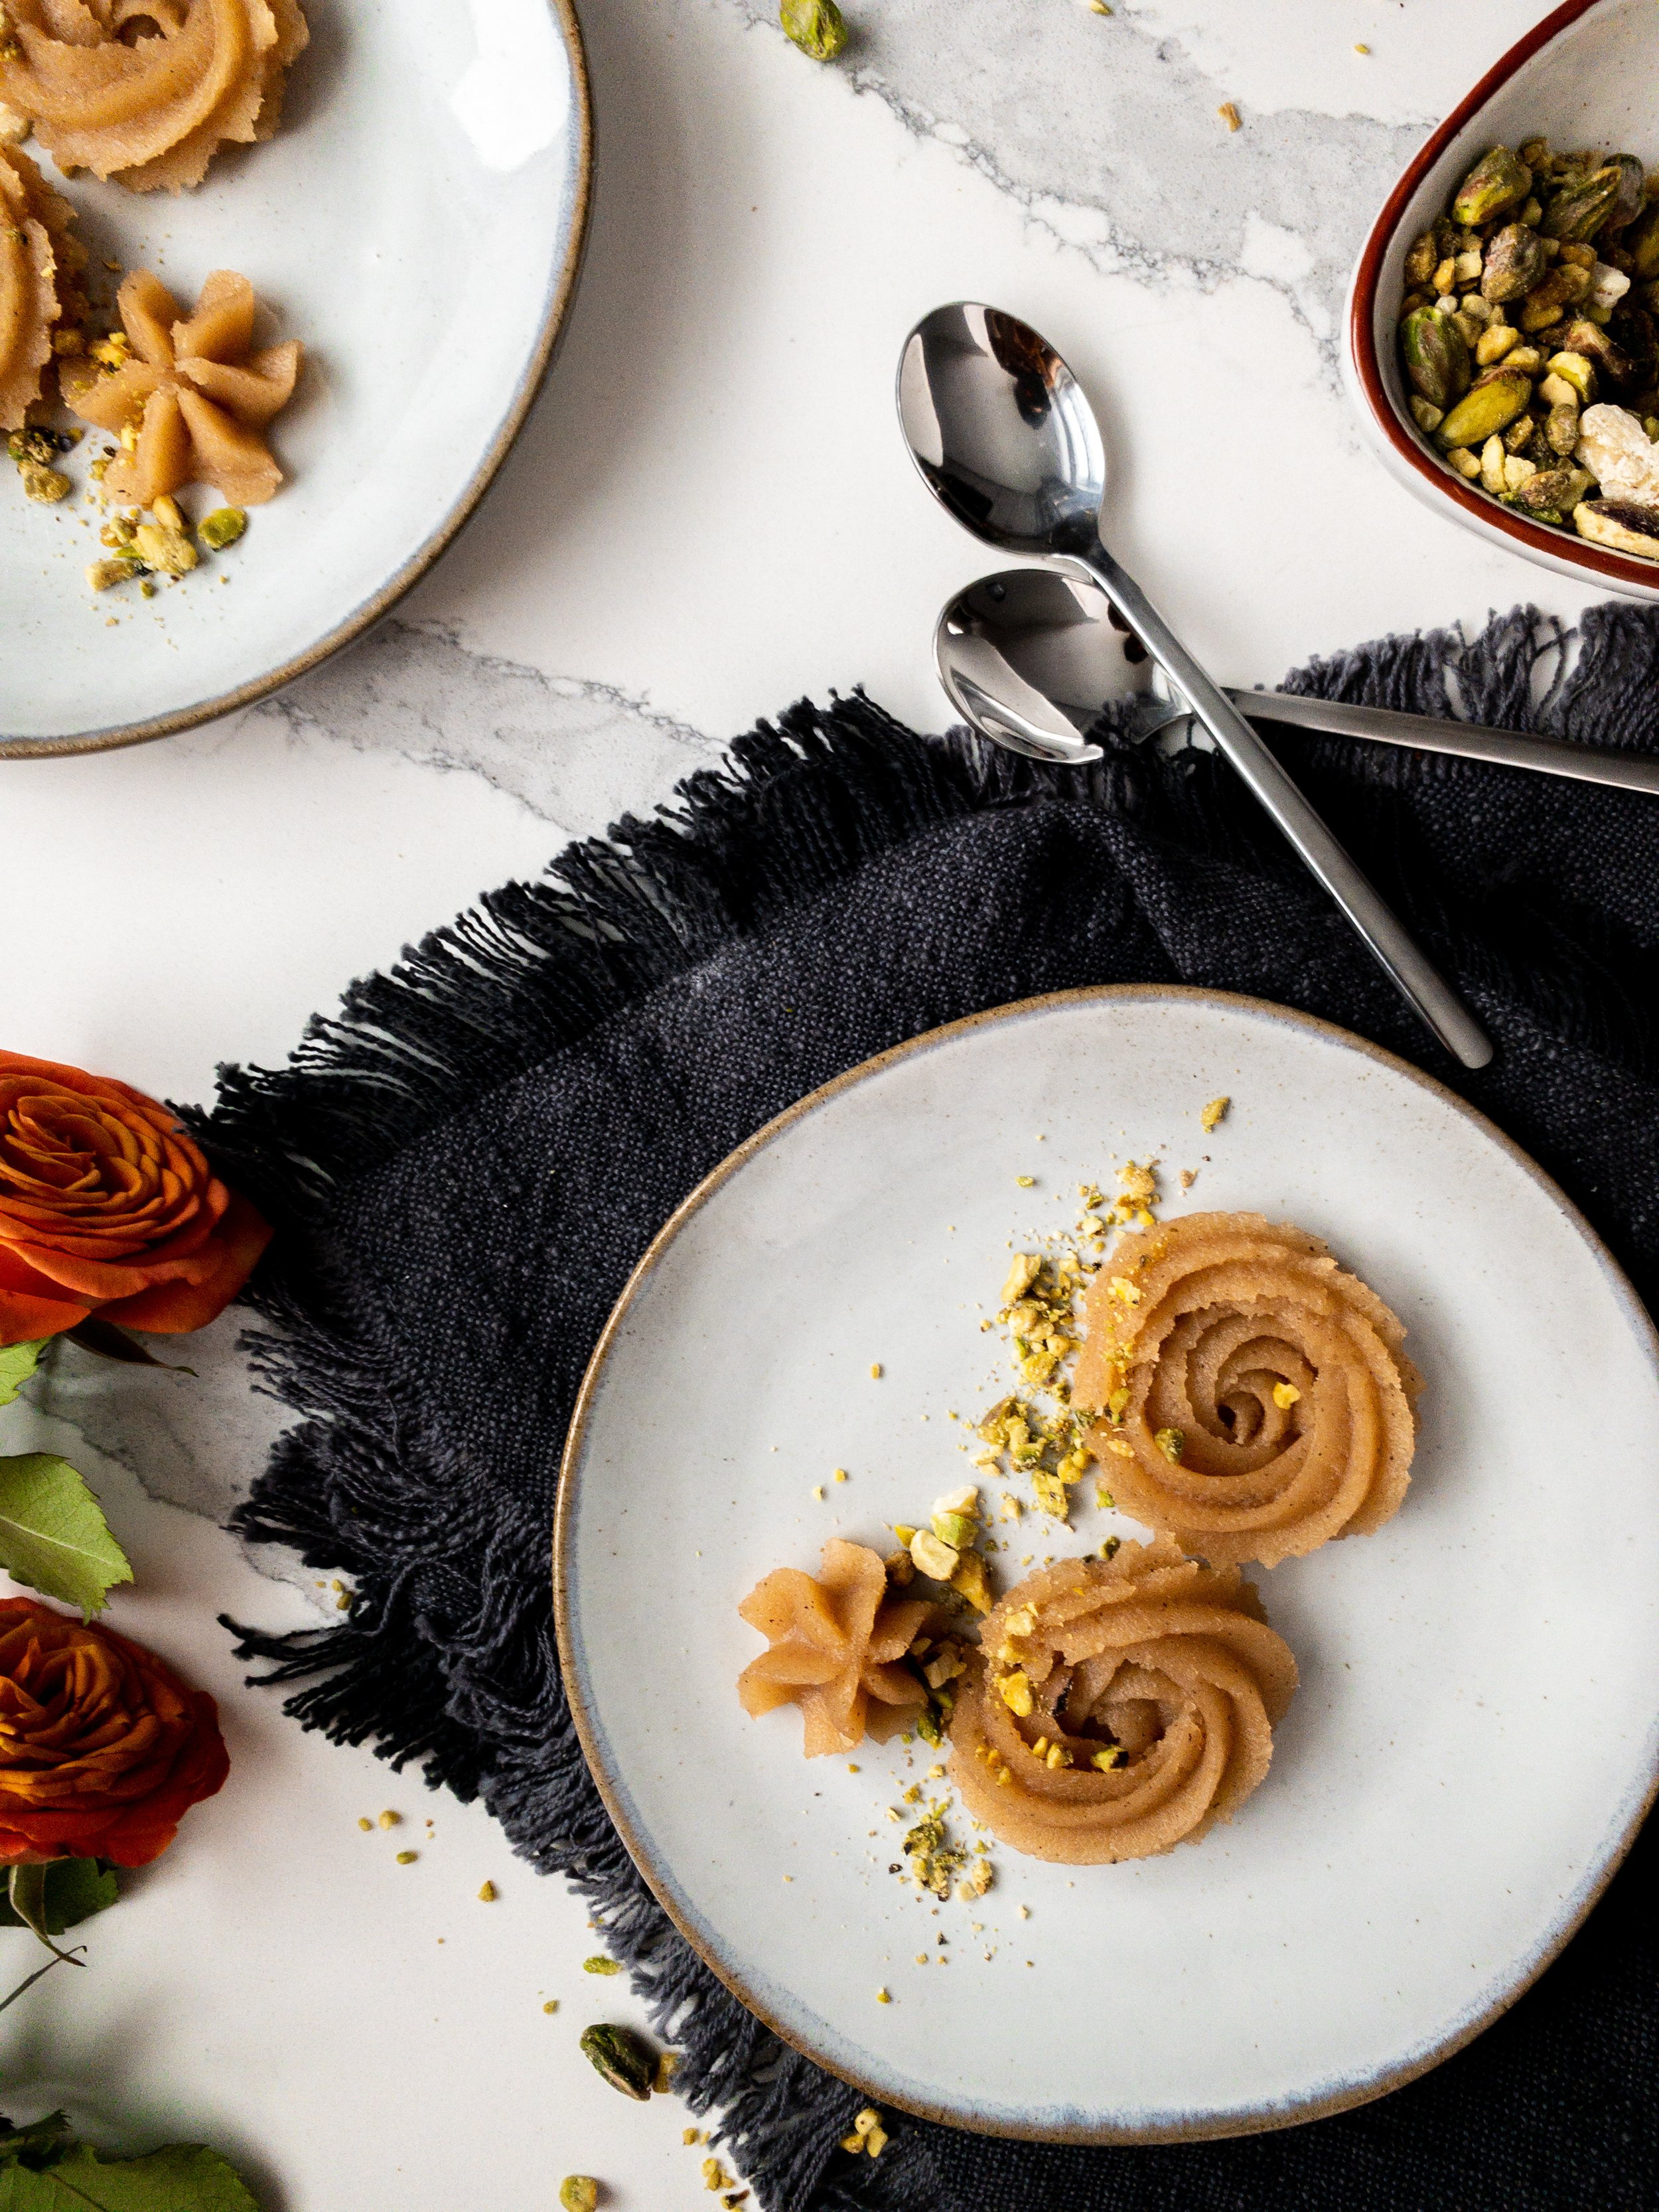
- In the picture above I filled a pastry bag fitted with a piping tip with the slightly cooled halva and piped rosettes. This needs to be done while the halva is still fairly warm as it'll be impossible to pipe if it cools completely. Once the rosettes are cooled they can be reheated if you prefer to enjoy warm.
- Most important of all, do not forget to wish for good tidings after enjoying these toasty morsels.
If you try this recipe, let me know how you like it! Tag me on IG @balkanbasics